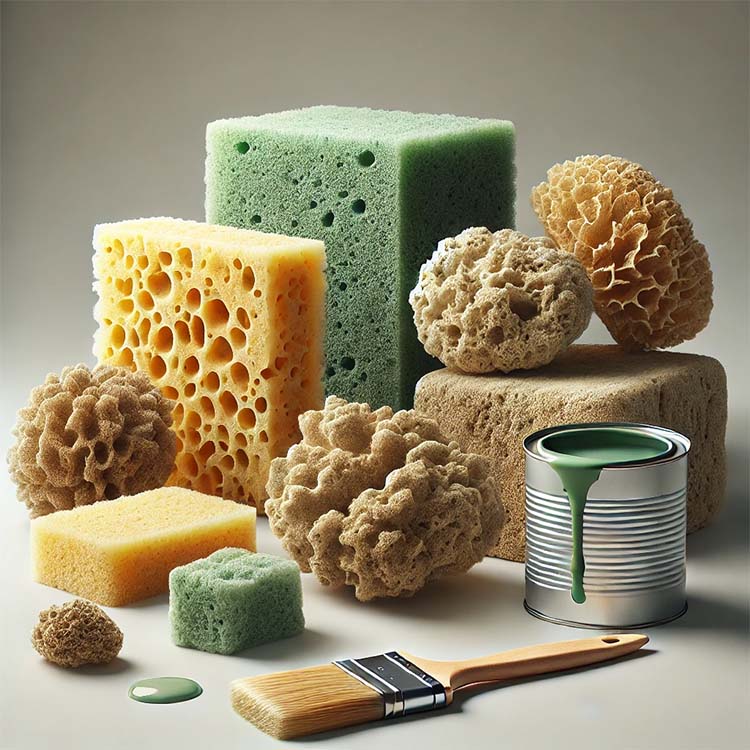
Sponging is a versatile and creative painting technique that allows you to add texture, depth, and a unique touch to your walls. Whether you’re looking to create a subtle, elegant finish or a bold, artistic statement, sponging with paint can transform your space. Here’s how to master this timeless technique.
What Is Sponging?
Sponging involves using a sponge to apply or remove layers of paint on a wall to create a textured effect. This method can mimic materials like marble or plaster, add depth to flat walls, or enhance architectural details. The beauty of sponging lies in its flexibility; it’s suitable for both beginner DIYers and experienced painters.

Types of Sponging
- Sponging On: Adding layers of paint with a sponge to create texture.
- Sponging Off: Removing paint with a damp sponge for a softer, more blended look.
- Two-Tone Sponging: Using two complementary colors to achieve a dynamic, multi-dimensional effect.
Tools You’ll Need
- Natural sea sponge or synthetic sponge
- Two or more paint colors
- Paint tray
- Lint-free cloths
- Lint-free cloths
- Lint-free cloths
- A base coat (usually a flat or eggshell finish)
Step-by-Step Guide to Sponging
1. Prepare the Wall
- Clean the wall thoroughly to remove dust and grease.
- Apply a base coat in your chosen color and let it dry completely. This will serve as the background for your sponging effect.
2. Choose Your Paints
- Select one or two complementary or contrasting colors for the sponging effect.
- Dilute the paint slightly with water for easier application and a softer finish.
3. Test Your Technique
- Practice on a piece of cardboard or scrap drywall to perfect your technique.
- Experiment with the amount of paint on the sponge and the pressure you apply.
4. Apply the Paint
- Dip the sponge lightly into the paint and dab off any excess on a paper towel.
- Start at the top corner of the wall and dab the sponge gently onto the surface. Rotate the sponge as you go to avoid creating repetitive patterns.
- For sponging off, apply the second paint layer with a roller and use a damp sponge to remove paint in random areas while it’s still wet
5. Blend and Refine
- Blend edges between sections by lightly overlapping the sponge work.
- Step back frequently to ensure a balanced, cohesive look across the entire wall.
6. Let It Dry
- Allow the wall to dry completely before adding any additional layers or finishes.
- If desired, seal the wall with a clear topcoat to protect the texture and enhance durability.
Creative Variations
- Metallic Paints: Use metallic paints for a luxurious, shimmering finish.
- Multiple Colors: Layer three or more colors for a highly textured, intricate effect.
- Ombre Sponging: Blend colors in a gradient for a stunning ombre effect using sponging techniques.
Where to Use Sponging
Sponging is ideal for:
- Accent walls
- Dining rooms
- Entryways
- Columns or architectural features
Final Thoughts
Sponging is a cost-effective and creative way to elevate your walls. Whether you prefer a subtle enhancement or a bold statement, this technique offers endless possibilities for customization. If you’d like professional help to achieve a flawless sponging effect, Paint Unlimited LLC is here to bring your vision to life with expert techniques and top-quality materials.
Contact us today to transform your walls into works of art!
