Author name: admin

A modern living room featuring striking black walls complemented by elegant white furniture.
Painting Services

How to Use Accent Walls to Transform Any Space

An accent wall is a simple yet powerful way to add character, depth, and visual interest to any room. Using paint creatively can transform a space without requiring a complete overhaul. Here’s how to use paint effectively to create stunning accent walls in your home or office: Choose the Right Wall The first step in creating an accent wall is selecting the right one. Typically, this is the wall that naturally draws attention when you enter the room. For example: Avoid choosing walls with too many windows or doors, as they can break up the design and dilute the effect of the accent wall. Pick the Perfect Paint Color The color you choose for your accent wall will set the tone for the entire space. Paint offers endless possibilities for creativity. Here are some tips: Test your chosen color with paint samples to see how it looks in different lighting conditions throughout the day. Paint swatches are your best friend when narrowing down options. Use Paint to Create Patterns and Textures Solid colors are a classic choice, but paint can also be used to add patterns or textures to your accent wall: Paint allows for unlimited customization, making your accent wall truly unique. Highlight Your Painted Wall with Accessories Once your painted accent wall is complete, enhance its impact with complementary decor: The right accessories can elevate your painted accent wall and make it the focal point of the room. Balance Your Design The key to a successful painted accent wall is balance. Avoid adding too many competing elements in the room that might distract from the wall. Keep the rest of the space cohesive and uncluttered to let the paint shine. Why Choose Paint for Accent Walls? Using paint for an accent wall is a budget-friendly way to: Paint is versatile, cost-effective, and easy to update if you’re ready for a change. Final Thoughts Whether you’re refreshing a single room or revamping your entire home, using paint to create an accent wall is a versatile design tool that can make a big impact. With the right choices in color, technique, and decor, you can create a space that feels uniquely yours. If you’re unsure where to start, consulting with a professional painter can help bring your vision to life seamlessly. Ready to transform your space with the power of paint? Contact us at Paint Unlimited LLC for expert advice and top-notch painting services!

A garage featuring a ceiling fan and overhead lights, providing illumination and ventilation for the space.
Painting Services

How to Paint Your Garage for a Fresh, Durable Finish

The garage often serves as a multi-functional space, from parking cars to storage and even workshops. Painting your garage walls and floors can enhance its appearance, improve functionality, and protect surfaces from wear and tear. Here’s a comprehensive guide to painting your garage and achieving a professional finish. Why Paint Your Garage? 1. Aesthetic Improvement 2. Protection Against Damage 3. Increased Usability Steps to Paint Your Garage 1. Prepare the Space Preparation is key to a successful painting project. 2. Choose the Right Paint For Walls and Ceilings For Floors 3. Apply Primer 4. Paint the Walls and Ceiling 5. Paint the Floor 6. Let It Cure Maintenance Tips Painting your garage is a worthwhile investment that enhances its functionality, appearance, and longevity.

A collection of sponges, paint supplies, and assorted items arranged neatly on a surface for artistic use.
Painting Services

Create Stunning Walls with Sponging Techniques

Sponging is a versatile and creative painting technique that allows you to add texture, depth, and a unique touch to your walls. Whether you’re looking to create a subtle, elegant finish or a bold, artistic statement, sponging with paint can transform your space. Here’s how to master this timeless technique. What Is Sponging? Sponging involves using a sponge to apply or remove layers of paint on a wall to create a textured effect. This method can mimic materials like marble or plaster, add depth to flat walls, or enhance architectural details. The beauty of sponging lies in its flexibility; it’s suitable for both beginner DIYers and experienced painters. Types of Sponging Tools You’ll Need Step-by-Step Guide to Sponging 1. Prepare the Wall 2. Choose Your Paints 3. Test Your Technique 4. Apply the Paint 5. Blend and Refine 6. Let It Dry Creative Variations Where to Use Sponging Sponging is ideal for: Final Thoughts Sponging is a cost-effective and creative way to elevate your walls. Whether you prefer a subtle enhancement or a bold statement, this technique offers endless possibilities for customization. If you’d like professional help to achieve a flawless sponging effect, Paint Unlimited LLC is here to bring your vision to life with expert techniques and top-quality materials. Contact us today to transform your walls into works of art!

A vibrant rainbow-colored house with a bucket spilling a cascade of colorful rainbows onto the ground.
Painting Services

5 Ways to Brighten Up Your Home with Color This Winter

As the winter months settle in, the days get shorter, and the natural light fades, it can be easy for our homes to feel a bit dark and dreary. However, you can counteract the winter blues by adding warm, uplifting colors to your home that bring a sense of coziness and cheer. Here are five ways to use color to brighten up your home this winter and create a comfortable, welcoming atmosphere. 1. Embrace Warm, Earthy Tones Earthy tones like terracotta, burnt orange, and golden yellows evoke a sense of warmth and connection to nature. These colors can instantly make a space feel more inviting and comfortable, especially during winter. Consider adding these shades to your living room or bedroom through accent walls, throw pillows, or decorative elements. Their rich hues will create an environment that feels snug and comforting, perfect for curling up with a blanket on a cold day. 2. Add Pops of Cheerful Color Adding bright pops of color is an easy way to lift your spirits. Consider using lively shades like mustard yellow, deep coral, or even a bright teal to inject energy into your space. These colors work well in small doses, such as through cushions, rugs, artwork, or even a painted piece of furniture. By adding small bursts of color, you can bring visual interest to a room and make it feel more alive without overwhelming the space. 3. Use Soft Pastels for a Gentle Lift Pastel colors aren’t just for spring—they can also be used to create a calming and uplifting effect during winter. Soft pastel shades like blush pink, lavender, or powder blue can add a subtle touch of warmth to a room without being too bold. These colors are perfect for bedrooms or other areas where you want to create a serene, relaxing atmosphere. Pair pastels with plenty of soft textures, like plush blankets and fluffy rugs, to enhance the cozy feeling. 4. Incorporate Rich Jewel Tones Jewel tones like emerald green, sapphire blue, and ruby red can add a sense of luxury and warmth to your home. These colors work well in winter because of their depth and richness, which bring a feeling of opulence and comfort to any room. You can incorporate jewel tones through curtains, upholstery, or bedding to make a space feel warm and enveloping. When paired with soft lighting, these colors can create a cozy, elegant environment that feels perfect for the winter season. 5. Brighten with Neutral Colors and Warm Undertones If bold colors aren’t your style, you can still add warmth by choosing neutrals with warm undertones. Opt for shades like creamy beige, warm taupe, or soft ivory to keep your space feeling light while adding a touch of coziness. These warm neutrals can be used on walls, furniture, or decor to create a cohesive, inviting space. To add more dimension, pair these neutrals with natural textures like wood, wool, or wicker for a homey, layered look. Winter doesn’t have to mean a dull or gloomy home. By incorporating warm, uplifting colors, you can transform your space into a cozy, cheerful retreat. Whether you prefer earthy tones, bright pops of color, or luxurious jewel shades, there are countless ways to use color to brighten your home this winter. Grab a paintbrush, some colorful accessories, and start bringing some warmth into your home!

A grape fruit design
Painting Services

Why Adding Natural Materials to Paint Is Not Appropriate for Large Surfaces

The idea of adding natural materials, such as fruit or vegetable extracts, to paint for unique, natural colors may seem appealing to eco-conscious individuals or DIY enthusiasts. However, when it comes to painting large surfaces like house interiors or exteriors, this approach is not practical or appropriate. Here’s why. Why Professional Paints Are the Better Choice Modern paints are specifically formulated to provide consistent color, strong adhesion, and long-lasting protection for both interior and exterior surfaces. These benefits include: Alternatives for Sustainable Painting If your goal is to reduce environmental impact while painting large surfaces, consider these alternatives: Adding natural materials like fruit extracts to paint may work for small craft projects or decorative finishes, but it is not appropriate for painting large surfaces such as house interiors or exteriors. The lack of durability, consistency, and compatibility with professional-grade formulations makes this approach unsuitable for practical use. For a reliable, long-lasting finish, it is best to choose high-quality, eco-friendly paints designed for large-scale applications.

Importance of Primer in Painting Projects
Painting Services

The Importance of Primer in Painting Projects

Primer is an essential but often overlooked step in painting projects. Whether you’re working on walls, ceilings, furniture, or exteriors, using primer ensures a smoother, longer-lasting finish. Here’s why primer matters and how to choose and use it effectively. Why Use Primer? Primer creates a uniform surface that helps paint adhere more effectively. It is especially important on surfaces like raw wood, drywall, or metal where paint might otherwise peel or bubble. Primers seal stains from smoke, water damage, or grease, preventing them from bleeding through the new paint. They are ideal for covering bold colors or patterns when switching to a lighter shade. Primer improves the durability of the paint, making it more resistant to chipping, cracking, or fading. It acts as a protective layer, particularly in high-traffic areas or exterior surfaces exposed to the elements. By sealing porous surfaces, primer reduces the amount of paint needed for coverage. It creates an even base, so fewer coats of paint are required to achieve the desired color and finish. Types of Primer Latex primer is best for drywall, softwoods, and previously painted surfaces. It is water-based and easy to clean, making it ideal for indoor projects. Oil-based primer is suitable for blocking stains and sealing porous surfaces like raw wood and metal. It provides excellent adhesion but requires mineral spirits for cleanup. Shellac primer is highly effective at blocking tough stains and odors, such as smoke or water damage. It dries quickly and works on a variety of surfaces, including wood, metal, and plaster. When to Use Primer Primer is necessary for new drywall to seal the surface and ensure even paint application. When transitioning from dark to light colors, primer helps achieve the desired hue with fewer paint coats. It prevents stains from bleeding through the new paint layer and improves adhesion on glossy surfaces like laminate or previously painted trim. On exterior surfaces, primer protects against moisture and prepares materials like brick, concrete, or wood for weather-resistant paint. How to Apply Primer Start by cleaning the surface to remove dust, grease, and dirt. Sand rough or glossy areas to create a smooth, paintable surface, and fill cracks or holes with spackle or filler before sanding them smooth. Use high-quality brushes or rollers designed for primers, or consider a paint sprayer for even coverage on large areas. Stir the primer thoroughly before use and apply a thin, even coat, allowing it to dry completely before adding paint. Inspect the surface for any missed spots or uneven areas and touch them up before applying the topcoat. Tips for Success Choose a primer that matches your paint type, whether water-based or oil-based. For strong odors or severe stains, opt for a stain-blocking primer. Always follow the manufacturer’s instructions for drying times and compatibility. Primer is the foundation of any successful painting project. By investing in the right primer and taking the time to apply it properly, you’ll achieve a professional-looking finish that lasts for years.

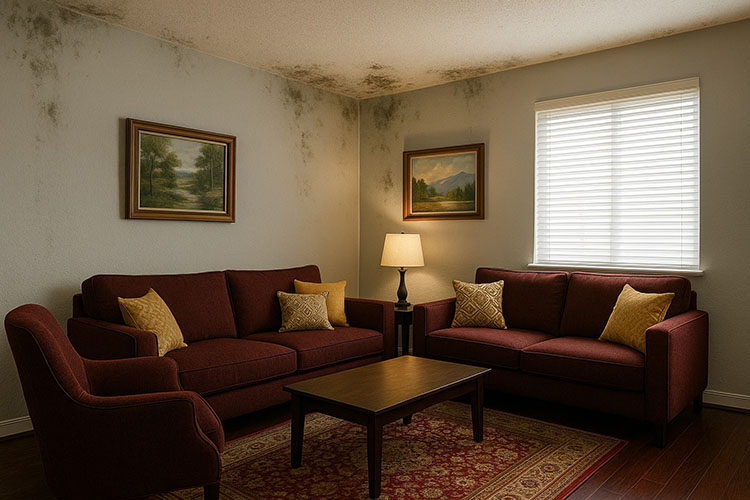
Tobacco use affects indoor walls and painting projects
Painting Services

How Tobacco Use Affects Indoor Walls and Painting Projects

Tobacco use indoors doesn’t just impact air quality—it can also cause significant damage to walls, affecting their appearance and the success of painting projects. Over time, tobacco smoke leaves a residue that penetrates surfaces, creating challenges for homeowners and painters alike. Here’s what you need to know about the effects of tobacco use on walls and how to address them before painting. How Tobacco Smoke Impacts Walls 1. Discoloration 2. Odor Absorption 3. Surface Damage How Indoor Vaping Affects Walls Vaping indoors may seem like a less invasive alternative to smoking, but it can still impact your walls and surfaces over time. 1. Residue Build-Up 2. Odor Retention Though vaping odors are generally milder than tobacco smoke, certain flavored vapors can linger and be absorbed by walls, especially in poorly ventilated spaces. 3. Impact on Paint Durability The sticky residue from vaping can interfere with paint adhesion, causing new coats to bubble or peel if not properly cleaned beforehand. Preparing Walls Affected by Tobacco Use and Vaping Proper preparation is essential to ensure a successful paint job. Follow these steps to restore walls before painting: 1. Thorough Cleaning 2. Deodorize 3. Prime the Surface Choosing the Right Paint When painting over walls affected by tobacco use or vaping, the type of paint matters: Preventing Future Issues If tobacco or vaping use continues indoors, take steps to minimize its impact on your walls: Indoor tobacco and vaping use can leave lasting effects on walls, but with the right preparation and products, you can restore your space and achieve a flawless paint finish.

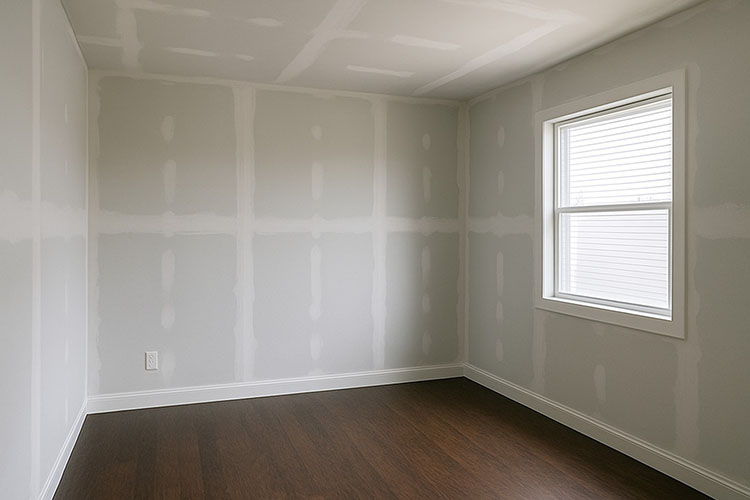
A newly painted walls and ceiling
Painting Services

Removing Popcorn Ceilings: Why It’s Often Best to Hire an Expert and What’s Involved in the Process

Popcorn ceilings were once popular for their sound-dampening properties, but many homeowners now prefer a smoother, more modern look. While some tackle removing popcorn texture as a D.I.Y. project, bringing in skilled help can often result in a cleaner, more efficient job with a flawless finish. Here’s a look at why hiring an expert benefits homeowners and what’s involved in the removal process. Why Hiring an Expert is Beneficial What Goes Into Removing Popcorn Ceilings Removing popcorn texture is a multi-step process that requires the right tools, preparation, and attention to detail: Final Thoughts Removing a popcorn ceiling can dramatically modernize your home, but it’s a time-consuming, multi-step process that can be challenging to get right. For many homeowners, hiring an expert brings peace of mind, saves time, and ensures a high-quality, professional finish that enhances any room’s look.

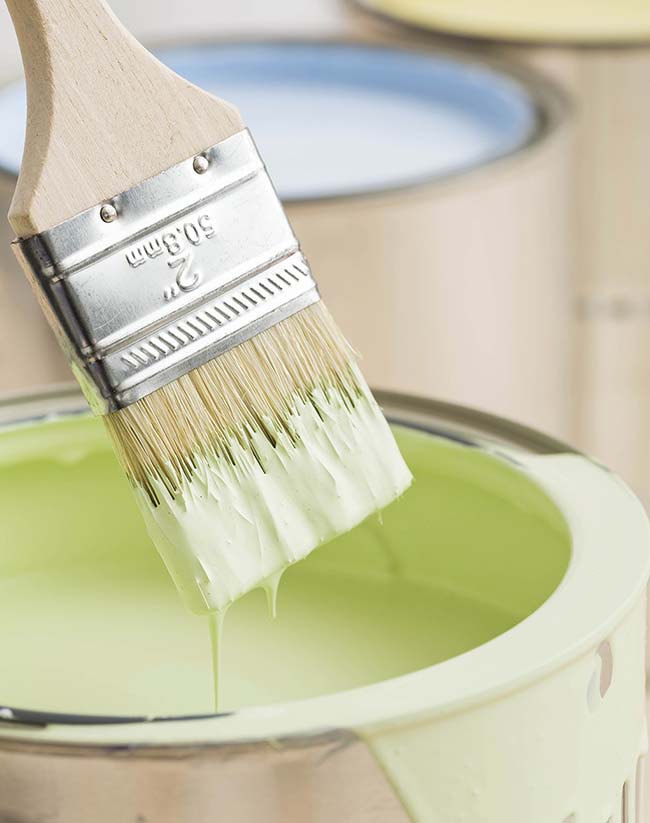
Oil based light green paint in a can
Painting Services

Understanding the Differences Between Water-Based and Oil-Based Paints

Choosing the right paint for a project can make a big difference in durability, finish, and ease of application. The two main types of paint—water-based (often called latex) and oil-based (sometimes known as alkyd or enamel)—each bring unique properties that make them suited to different applications. Here is a look at the core differences to help guide you to the right choice. Composition and Environmental Impact The primary difference between these two types of paint lies in their composition. Durability and Longevity When it comes to durability, water-based and oil-based paints each have their advantages in different situations: Drying Time and Application One of the most noticeable differences between water-based and oil-based paints is drying time: Finish and Appearance The look and feel of the final finish can differ significantly between water-based and oil-based paints. Maintenance and Cleaning Maintaining painted surfaces can also vary based on the type of paint used: Cost and Availability While prices can vary by brand, there are some general differences between water-based and oil-based paints. Choosing the Right Paint for Your Project Selecting the right paint type can depend on the specific needs of your project: Understanding the differences between water-based and oil-based paints can help you make an informed choice that best suits your project’s needs and aesthetic goals. Whether painting an accent wall or finishing a cabinet, picking the right type of paint ensures a lasting, beautiful finish.

A brush with a yellow paint
Painting Services

Understanding the Different Types of Paint Brushes

Selecting the right paintbrush for a job is crucial for achieving a smooth, professional-looking finish. Brushes come in a variety of shapes, sizes, and bristle types, each tailored for specific applications and paint types. Here’s a breakdown of the most common types of paint brushes and what they’re best suited for. 1. Brush Shapes The shape of the brush affects its precision and ability to cover various surfaces efficiently. Here are the main types: 2. Brush Bristle Types The type of bristle on a brush is critical, as different bristles work better with specific paints. 3. Brush Sizes Brush sizes are essential to consider, as they affect the level of detail and the speed of coverage. 4. Specialty Brushes In addition to the standard shapes, there are specialty brushes designed for specific types of painting tasks. Tips for Choosing the Right Brush Selecting the right brush can make all the difference in the outcome of your painting project. Here are some tips to help you make the best choice: Caring for Your Brushes Proper brush care can extend the life of your tools, so always follow these steps after painting: Each type of brush has a unique purpose and works best with certain paints and surfaces. Whether you’re painting a wall, applying a stain, or adding intricate details, choosing the right brush can make your project smoother and help you achieve a more professional finish.

Scroll to Top